Showing posts with label makerspace. Show all posts

Sunday, 27 March 2022

Learning is Inspired

Over the past 4 months I have been learning to work with wood. After moving to Australia, I quickly got a job teaching at OneSchool Global in Brisbane. I am now teaching Design Technology from Yr 3-11. It's a different experience to teaching overseas. 

After settling in during my first weeks, I soon realized that I needed to up skill myself in woodworking. The school has a wood working room, full of equipment that I hadn't used before. I did try completing a safety program online, but I soon realized that I needed to attend some classes in person to learn about how to construct with wood. In my previous school in Jakarta, I ran a Maker Space. The room had a lot of specialized equipment, but only hand tools for working with wood. I had access to a wonderful laser cutter - a Glowforge, but I still had too little experience in working with wood beyond plywood boards. 

In my second term of teaching, I was really excited to teach a unit all about up-cycling. This involved taking something old and renovating it to increase its value. I chose to work on a project of my own at school to gain a better understanding of the time, skills and equipment required. I had observed that my students really like PBL - Project Based Learning and having some choice around what to make. I started with a chair and brought it into school to use a provocation. 

The chair did spark a little conversation but my students were not very interested in it. 

How could I get their interest? 

How could I show that I am a learner too?

How could I inspire students to develop the Maker's mindset?

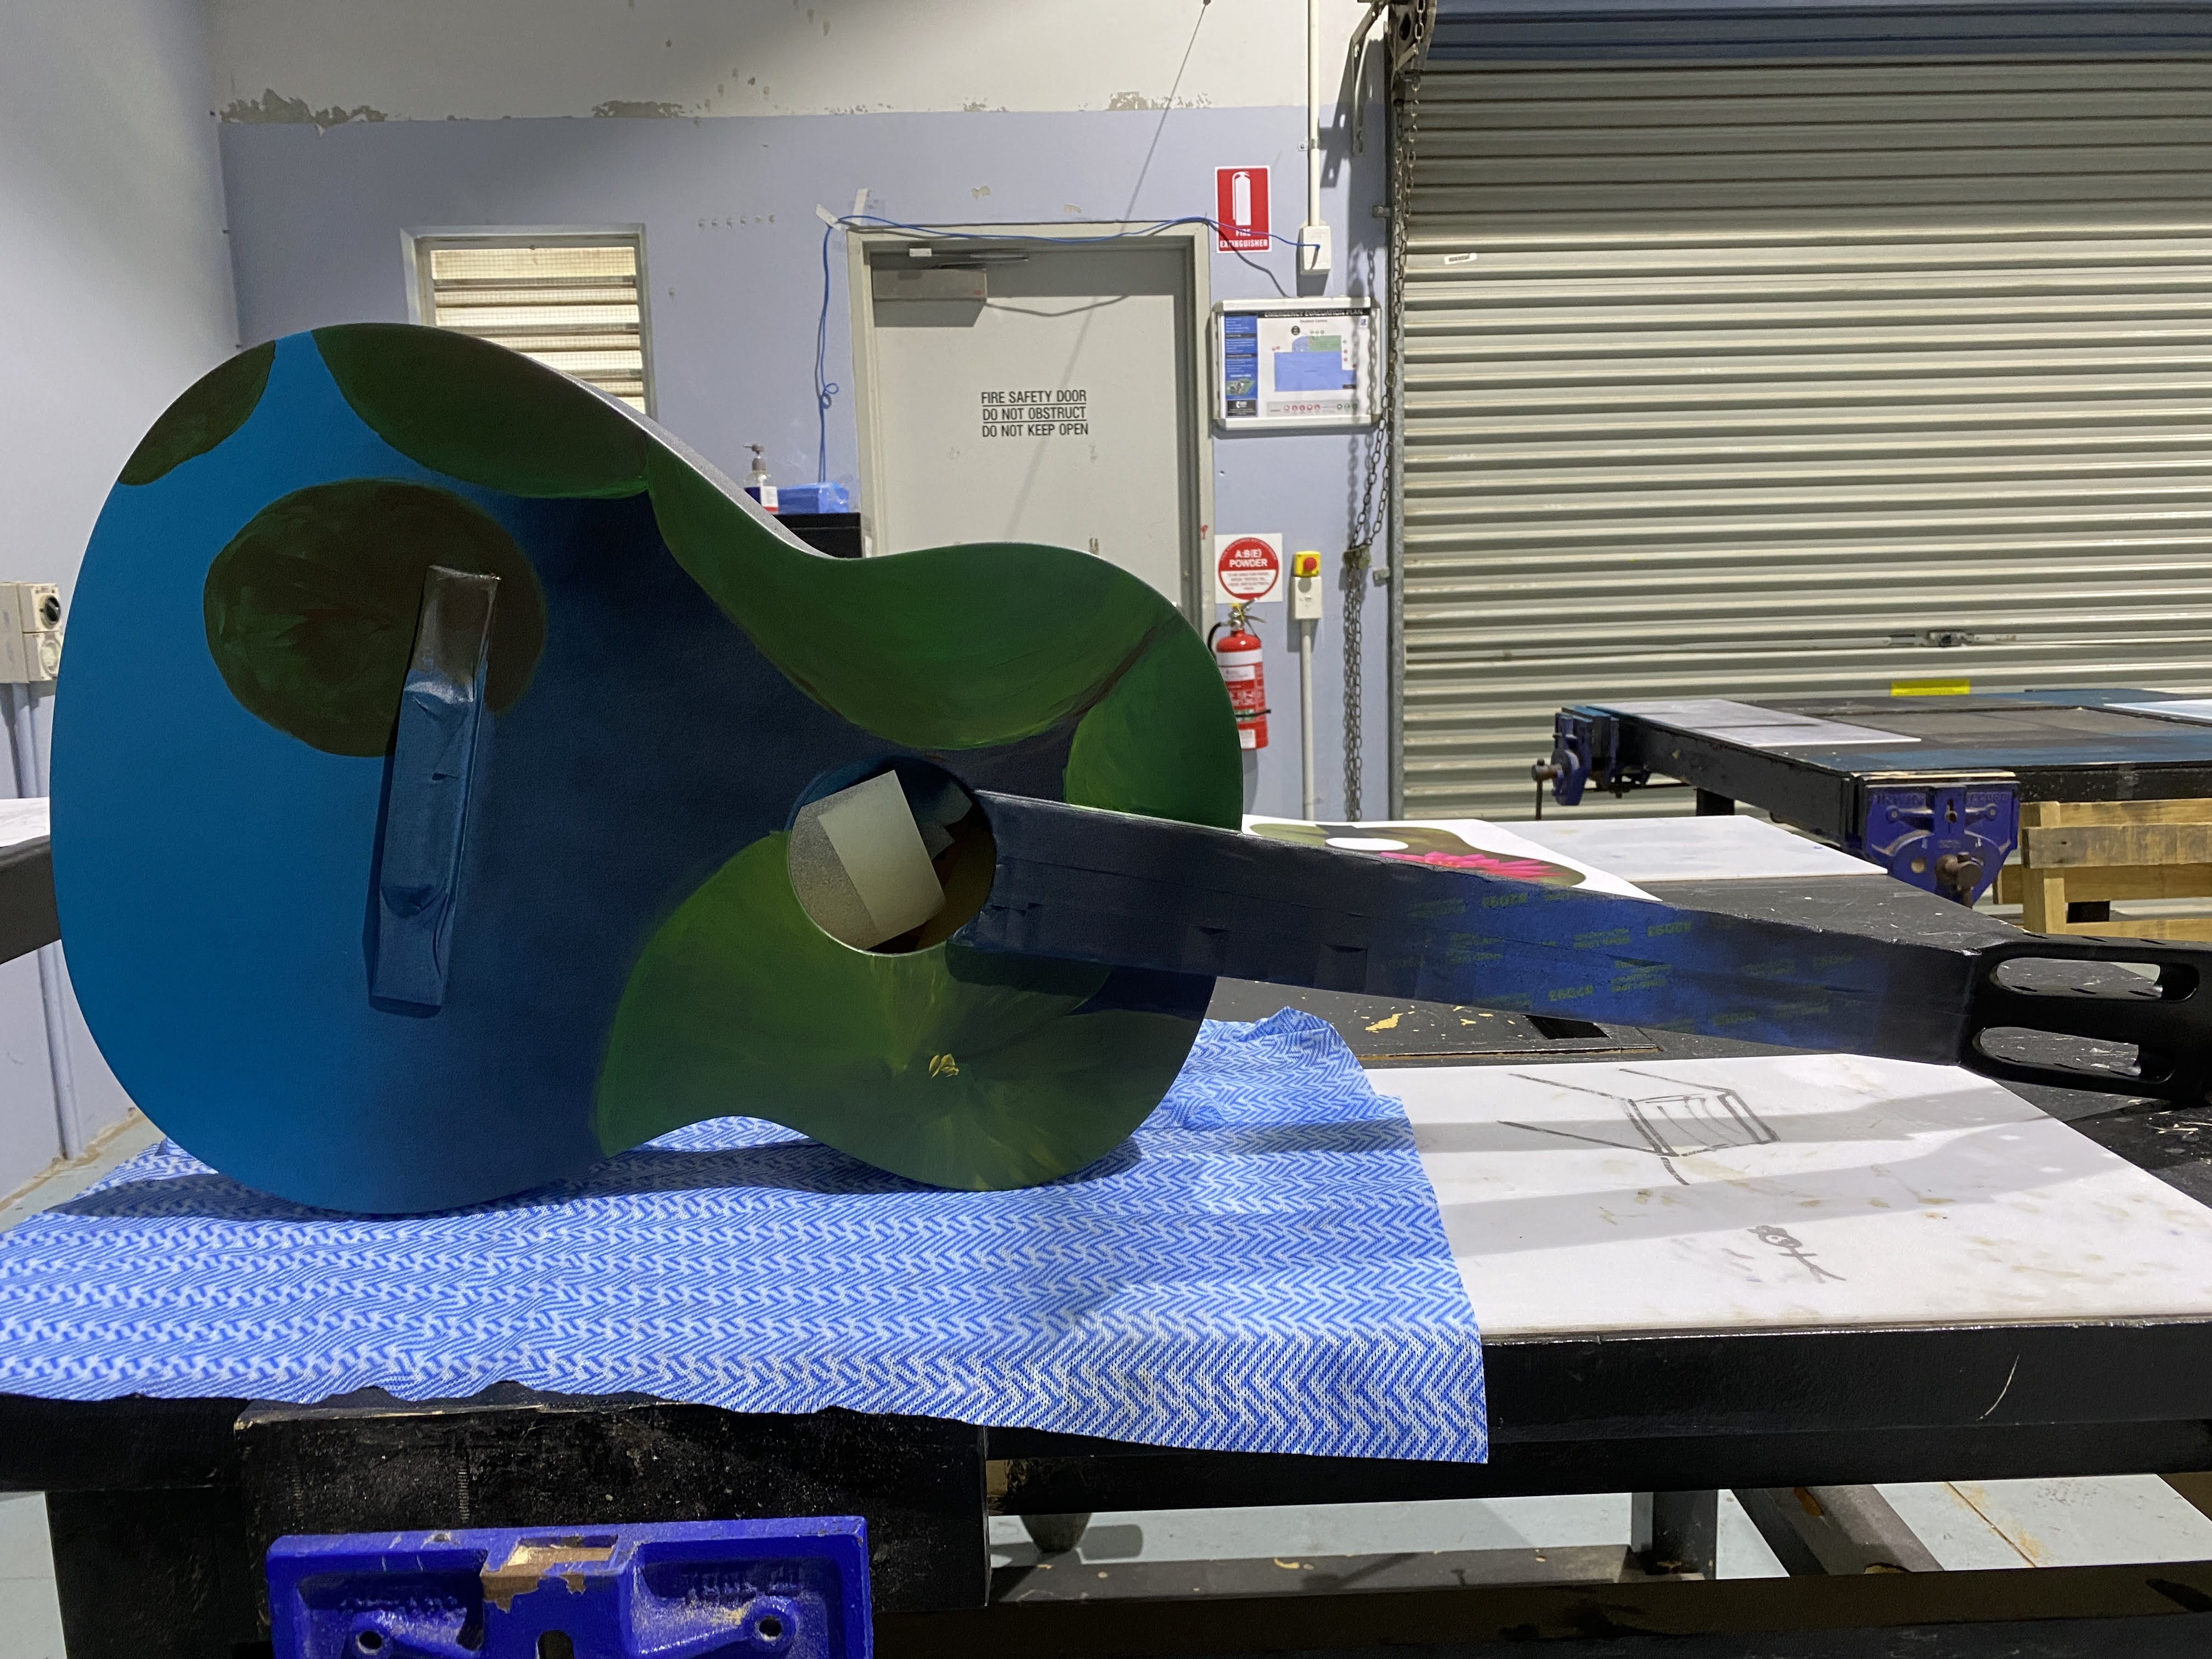
My shipping had just arrived from Jakarta and with it was my 30 year old guitar. It was the perfect choice! My students are very musical and there are a lot of small music bands in the school. I chose to up-cycle this old Yamaha and along the way demonstrate the Design cycle and share my process as a learner. 

How could up-cycling a guitar teach me about working with wood? Through my research, I soon realized that I would have to remove the strings and tuners and completely sand back the whole guitar (except for the fretboard). I learned that I needed to understand about finishing the wood after painting on the waterlily so that it could be played as a guitar. 

Not only did I get to learn about guitars, but I also learned about my students and their skills. 

Along the way I would ask: 

'What should I do next?'

'How will I know what's right?'

'Where can I get help with this?'

Did I inspire learning? Yes 
Was it engaging for my students? Yes 
Did I learn from my students? Yes 
Did I make mistakes? Yes
Did I share my mistakes with my students? Yes 
Here are some photos of the student projects produced.


This is just the beginning. Through my research into guitar making, I found a Luthier (guitar maker) in Brisbane. Long story short, I went to visit that workshop on a weekend and decided to learn to make a guitar myself from wood. But, that's a whole other story and needs a post or two on it's own. 

"Learning is inspired"


Friday, 8 September 2017

On Being a Maker

I've been thinking a lot about the process that I use to make a project. There is a pathway of sorts that helps me to go from 'Something Imagined' to 'Something Real'.  A big part of my making is in the planning. I don't just randomly make. That is not the way it happens. I can't work from zero.


I get inspired ... 


I might see something online. Or I see it in passing or hear about something in conversation. That's all it takes. Just enough of a hint to light a spark.
The singularly most powerful inspiration for me is when I can see it directly and I can touch it. Something that engages more than one sense. I guess you could think of this as the front loading stage in an inquiry cycle. I need this stage or the spark for inspiration will not happen! After inspiration comes imagination.

I can spend a lot of time in this stage. Being inspired leads to dreaming about what I can make. Sometimes I will actually dream about it - or just daydream about it. Many, many times this will not lead to making anything but when I imagine something and think about it numerous times - that usually means that I need to take action. I never really copy - I hate to copy! I strive to make it my own. To make something copied could never be considered as a proper project. Only as a point of learning to learn a new skill.  The next stage is the planning stage. This can be done on my iPhone, via an online search, by taking photos and mixing them or by making a sketch. I need to see the project to get a clear idea of what it looks like. Whilst this is happening I usually research what it will be made of and how to acquire the tools and materials. Finally I find out what techniques are required. You Tube and Craftsy are my go-to options.Next comes the making stage. If the technique is a new one, I'll make a sampler. This helps me to know if I am smart enough to make the bigger project. At this stage my project might just lose steam if I am not able to actually make it. I am very ambitious and sometimes aim too high. Now I can begin the project. This is the best part. I can get totally lost in this part. Hours can pass and I don't even realise. 
After making part of the project or all of the project the desire to improve it kicks in. This can make or break a project. Sometimes you can go too far in the pursuit to improve something and just end up ruining it. Yes that happens and yes those projects get tucked away never to see daylight again. I should embrace my failures or my projects that become 'over cooked'. 

Well that's something for me to work on ...


Of course I try to share about what I do. I mostly do that via my Instagram. This year I may even blog about it. I need to be quick though because I make stuff really fast. 

Here is my cycle of making

Wednesday, 16 March 2016

Vibrobots - Simple Robots that Move for a Maker Activity

Last Saturday I led some workshops at the Association of National Plus Schools annual teacher's conference in Jakarta. My workshop was all about Makerspace and Capturing the Learning in Real Time.

I used the term Makerspace in the perspective that it is a place where you can make something which could be really anywhere. I have always employed Maker activities in my classroom. I wanted to share about how making can unlock understandings in a way that viewing pictures or videos can't.

For this workshop we made a simple electric robot from recycled materials. I am really interested in robotics but I am even more interested in the mechanics and trying to understand how things work and why they work. These are abstract concepts but even young students can understand them when they get the chance to make it with their hands.

We started with the basic equipment:

a plastic cup
3 marker pens
two electrical wires with the ends stripped
a AA battery
a DC motor
electrical tape
sticky tape

About DC motors:
You can find DC motors inside many household items such as electric toothbrushes, battery operated fans or mixers. Here is an example of a motor inside a mixer.


Step 1:

Tape the markers to the plastic cup.

Step 2:

Make sure that the three markers are firmly attached with sticky tape. Put the markers facing downwards so that your robot can draw.

Step 3:

Prepare 2 copper wires by stripping (removing) the plastic from each end.

Step 4:

Connect one wire on each side of the motor. Thread the metal through the loop and twist to secure. Add a small weight to offset the motor shaft. This is to make the motor vibrate.

Step 5:

Tape the battery on the top of the cup. Tape the motor so that the spinning shaft is off the edge of the cup.

Step 6:

Using small pieces of electrical tape, tape on wire to the positive 'bump' end of the battery and one wire to the flat negative end. Using electrical tape is great because you can pull one end on and off to act as a switch.

Step 7:

Pull off the marker pen caps and place your robot on some paper. Watch it draw.


#Troubleshooting - Be aware that your circuit must be well connected or the motor won't run. Sometimes cheap DC motors can be faulty and you may have one that just doesn't work. Recheck your wiring too.

Make sure that your learners document the process with photographs and or video. Consider the 'Split Screen Learning Intentions' and focus on not just what you are learning but also how you are learning.


Extension Activities:

Try placing the battery on the centre of the cup end with the motor on top. Does this change the patterns that your robot is drawing? Try other combinations. Try using a different weight to offset the motor. Can you measure how these changes affect the drawing that your robot does? Consider how this activity can help your students understand about circuits and motion. Take some video and compare the differences. Identify how small changes affect the way your robot moves and draws.

Wednesday, 20 January 2016

Making Simple Paper Circuits

Today in Grade 2 we tried to answer a student question:

"How does a battery light up a light?"

We did this by exploring simple circuits. The students used copper tape, sticker LEDs and a button battery.  First we had a talk about batteries. The students were given a button battery to try to find the positive and negative sides.

We made a connection to how we use batteries in our toys. The students had a lot to say about how important it is to get the + and the - the correct way around. Next we used a template. This can make it easier for beginners as this was our first time to make a circuit. We used copper tape for the wires.


The copper tape can be bought online or at a hardware shop. It is best to use narrow tape for beginners as it will go around a corner more easily. If it is a young child, be aware that the edges of the tape are sharp and can cause a paper cut.


I made a quick circuit diagram as these learners are beginners. It was easily photocopied and all the students had to do was follow the lines for the tape. You need to note that the lines between the battery and one side of the LED must be strong and continuous. At the LED there is a break. Make sure that there is a little break here at that part between the positive and negative sides.


Put the sticker LED on after you have put down the copper tape.You can add extra copper tape on top if you need to make a stronger connection.


Once your circuit is complete you can add the battery to test your light. If it is not working, add some extra copper tape on the corners and either side of the LED light to help make your circuit stronger.


Here is a video of a finished circuit. The students added a drawing on top which featured a light to light up using their circuit.

Monday, 9 November 2015

Makerspace - Electric Textiles

I am a Maker. I love all kinds of arts and crafts and so I have developed a lot of skills through my making. I am a curious person so in order to make sense of how a Makerspace may be best utilized in a school, I needed to explore some projects myself.

I love textiles. I can weave, sew, knit, crochet, knot and print and paint on textiles. My next challenge is to learn how to embed technology into my textiles. I am also curious to learn more about this to encourage more girls to work on Makerspace projects, although these kinds of projects could be also of interest to boys. Instead of a flower, you could make a robot.

Just last weekend I tried to create a circuit in fabric. One of the greatest challenges here in Jakarta is finding the resources needed for these types of projects. I decided to start with a simple circuit that requires using a coin battery, battery holder, a switch and some LEDs.


I was able to buy some conductive thread and some tiny LEDs. The first thing I did was test the LEDs with the thread and battery. I was not able to buy a battery holder for the coin battery. I know that using a AA battery is not a good idea as the power could burn out the little LEDs. I decided to break open an old toy to get the battery holder and it worked just fine.

Equipment Needed:
felt - various colours
sewing thread
needle
conductive thread
needle nose pliers
LEDs
3V coin battery
Battery holder
metal press stud clasp

Sew your felt picture. You can do this by hand or on a sewing machine. You could even just glue the felt together with fabric glue. Next check all your electric parts.


Check the positive side and negative side of the battery. Put the battery into the holder so that the wire brackets touch the matching + or - Note that the positive side also runs around the edges.


The LED has a long and short side. The long side indicates the positive.


Bend the wire on the LED to make a little loop to sew through. Simple pointed pliers will do.
Here is the bent LED ready for sewing.


Test your LED, thread and battery to make sure it works. Make sure you connect the thread securely to your battery case. I placed it under the small screws and tightened them.


Next you can start sewing the circuit.


It's a good idea for students to draw a diagram for their circuit to work out where the positive and negative connections will be sewn. This diagram is showing that placement for just one light. The other lights can connect to the circuit. They don't have to go all the way back to the battery.
Use the metal snaps as a switch. Make sure that you sew the positive connections but leave one break for the switch. This will allow you to switch your lights on and off.


Here is the finished project.